I spent some time today putting up Christmas lights on the house today. The temperature wasn’t bad, but there was a pretty good wind out there. We are also looking at a winter storm tomorrow!
When I decided to review an HDR (high dynamic range) training on the National Association of Photoshop Professionals website this afternoon, all the photos that I pulled up to play with were from our summer vacation in the Black Hills of South Dakota. The holidays are a nice time of the year, but spring and summer is when I thrive!
Very pleasant memories as I practiced this methodology. I’ve done several posts on HDR, so if you are unfamiliar with it, you might want to look back (primarily at the old blog – link on the right!)
The process began with my original photos five photos auto-bracketed in my Nikon. The original photo and then an underexposed by 2 stops and 1 stop. Overexposed by 1 stop and 2 stops.
After importing all photos into Adobe Lightroom, I selected all five frames, right clicked to select Edit > Merge to HDR Pro in Photoshop. In the Merge to HDR settings, I increased the detail and then the strength and the radius to dial in the look I wanted.
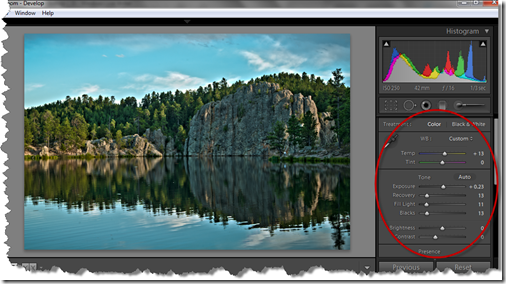
I saved the result from Photoshop (returning the photo to Lightoom) and then fine tuned the image in Lightroom. Note: For those not using Lightroom, you can accomplish this in Adobe Camera Raw as well.
Here’s the final result and my warm memories of Sylvan Lake:
Below is the original correctly exposed base photo:
ISO 250, 1/13 second, f/16 – Nikon D300


